Making sure that no Almonds have been lost or overlooked along the way…
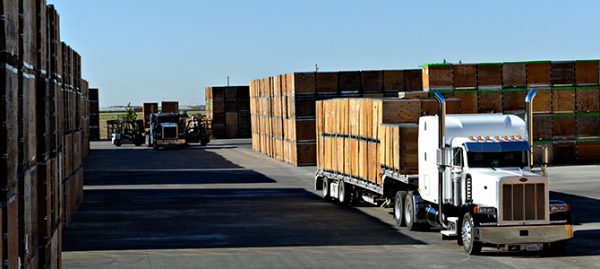
Even though our almond harvest has been picked up and shipped out we retain ownership and so it is in our interest to monitor custody. The almonds are delivered to a huller/sheller processor co-op called Central California Almond Growers Association (CCAGA) and then to a handler named Panoche Creek Packing (Panoche Creek) These enterprises are not too distant by truck route but our product undergoes quite the transformation along the way. A follow up post will describe in detail the operations at these facilities. They can/will provide us a private tour which you would find fascinating but generally what we see from our office chairs are the following steps:
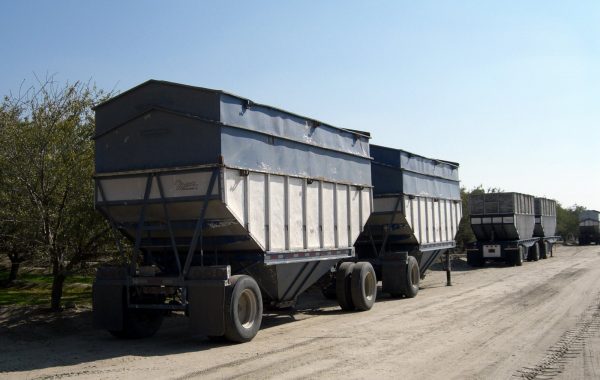
- Trucker Ticket Receipt furnished as loads depart the orchard. The truck driver makes a record as his hauling fee is dependent upon the number of loads that are transported.
- Weighmaster Certificate e.g. 11900040 as each load stops to be weighed. The truck drives onto a full length scale at the weigh station. The known empty weight of the rig is subtracted from the gross to get the almond field weight.
- CCAGA Grower Deliveries a tabulation of all truck loads. Referenced are a Delivery Ticket (No.) and/or a Weight Ticket (No.)
- CCAGA Stock Pile Grower History The almonds get deposited on the ground into a numbered pile where they await their turn for hulling and shelling. The Weight Certificate # is logged and correlated to a Delivery Receipt # e.g. 1935561 and assigned a Stock Pile Number e.g. KNK12
- CCAGA Turn Out Details is a recapitulation after the almonds in the field are combined in batch for post harvest processing. The hull is separated leaving the almond shell intact with nut inside if desired. (We receive a small compensation from the hull material which is sold for animal feed and other residual uses.) The In-shell almonds, shelled almonds, and loose meats are allocated to smaller Wood Bins and numbered e.g. Bin # 19901328
- CCAGA Shipping Manifest is a list of the Wood Bin(s) by number. Each Bin provides a total net weight and these are sum totaled. Truck transport info is documented as the crop harvest is next to be received by the finish processor facility and marketing agent. A Manifest No. is assigned for the next stage.
- Panoche Creek Inedible Almond Inspection Field Notes accompanies the CCAGA Shipping Manifest. It is a randomly drawn test sample taken from the almond kernels in a Bin for the CCAGA Shipping Manifest. The sample is analysed to determine the extent of foreign material, moisture, etc. This testing result is tied to the Panoche Creek Grower Delivery Report outcome which follows.
- Panoche Creek Grower Delivery Report is the final document record and it is a tabulation summary from the CCAGA Shipping Manifest. The Net Good Meats are calculated using the associated Almond Inspection Field Note as a global template for that batch. Finally, the tabulation is sub-totaled by variety and by field location in this report.
These documents, in the order listed above, are correlated by at least one serial identifier in turn. For instance, a Grower Delivery has a Weight Ticket that matches a Weight Cert# on the Stock Pile Grower History. These two forms are linked in this way. The form documents form an event chain through the entire process.
Have a look at this PDF link: Example Paper Trail for Nonpareil – East Block and see if you can follow the path of Bin (19300338) holding loose nuts (Note: the example starts with and shows Step 3 through Step 8)