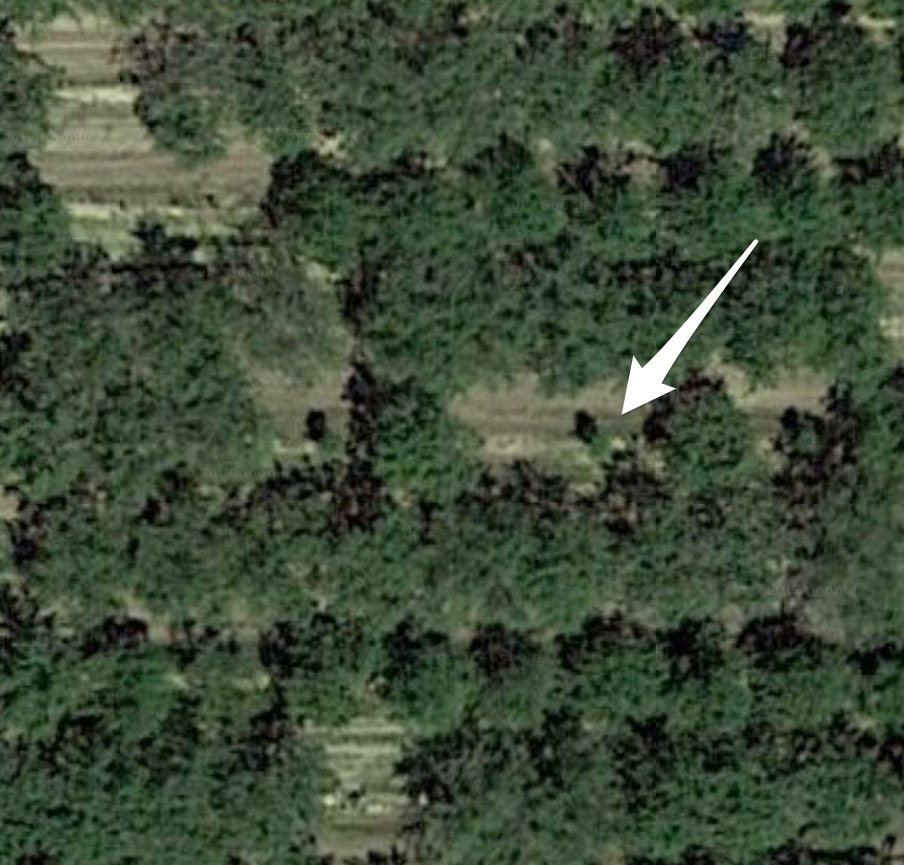
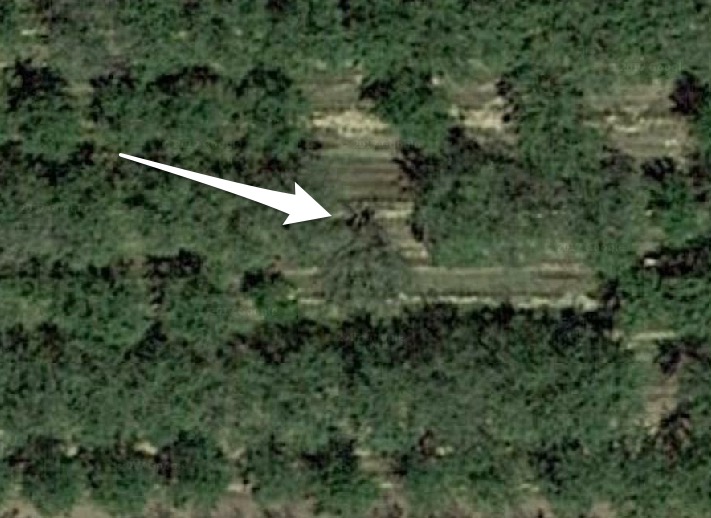
The last visual showed almonds scattered on the orchard floor left to dry – post tree shake. Moisture soon dropped below the desired 5% threshold (actual outcome 3.6 to 4.1%) and the nuts were ready for collection and transport. As these nuts are resting atop dry soil much of it loose, the standard procedure is to literally blow and sweep them into a single row. This formed row makes it possible for a pick up machine to straddle the row pile and scoop up the almond without running them over. Follows is a generic video of the blowing and sweeping action in which they tout their special berm brush to keep the dust down. I see it interfering with the drip hoses along the tree line center however. Attention: engineers in our clan! Is there a better way?
The sweeper machine blows nuts from one side of the tree berm to the open space opposite; while the main brush drives the bulk into the flat center space herding the nuts into a single row. They are retrieved by 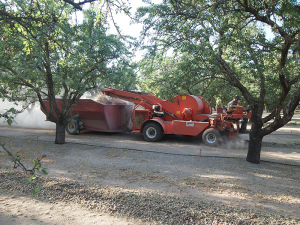 the pick up machine and carried by a cart in tow; leaving dirt and debris behind. Once the cart is full it is lifted hydraulically to dump its contents into yet another conveyance cart whose only purpose is to shuttle between the pick up machine and a semi-truck trailer awaiting roadside. In this way the pick up machine can continuously stay busy in the field.
An auger and belt elevator move the almonds from the shuttle to trailer. Once these truck trailers are full they 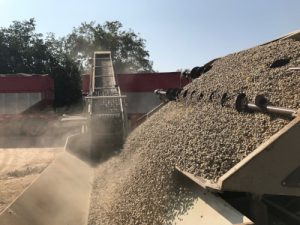 will make their way to the weigh & inspection station and huller, but more about that — next time.
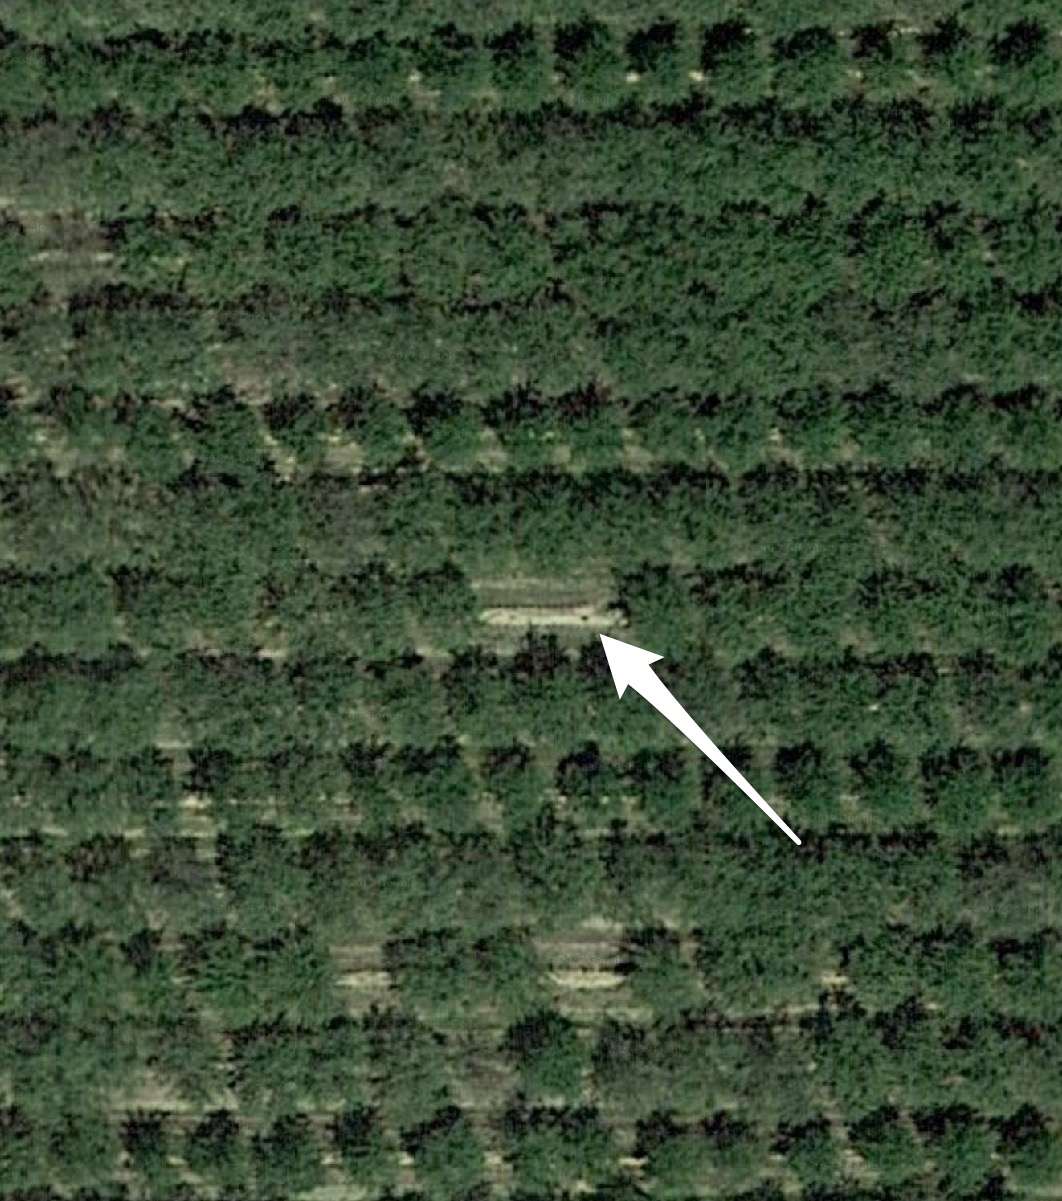
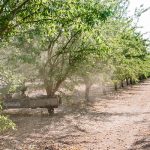 In early days this was done by laborers hand-knocking with sticks (poling), but is now mechanized due to the shear volume. The nuts in the center of the tree are the last to ripen.
 v1.5
v1.5